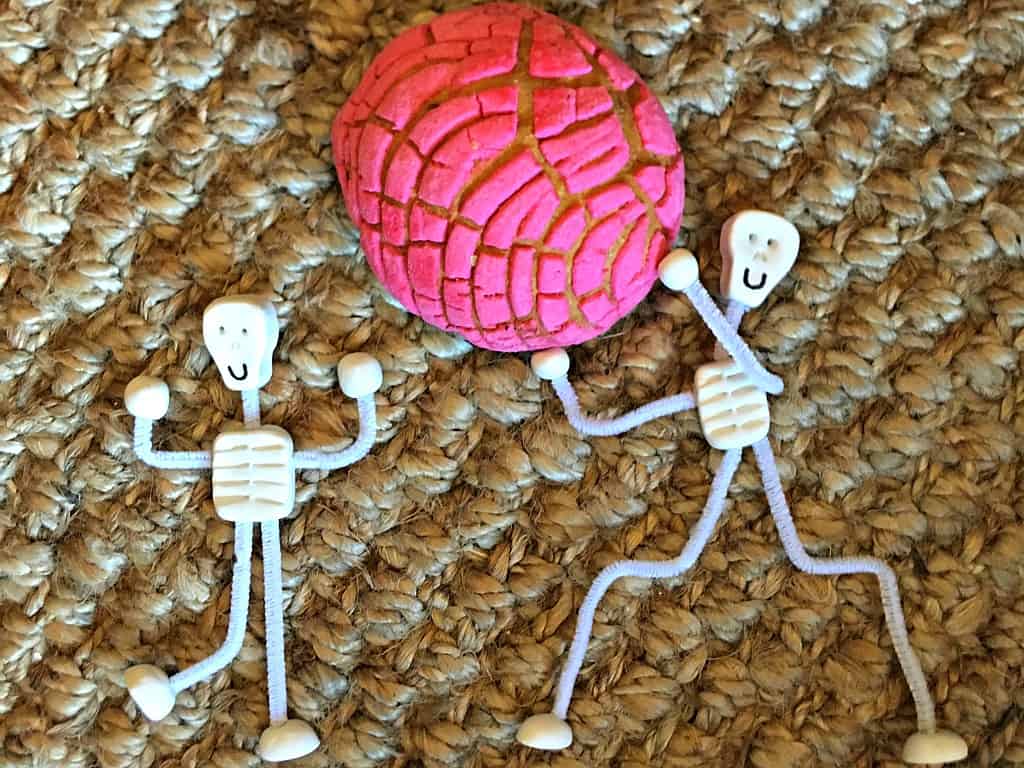
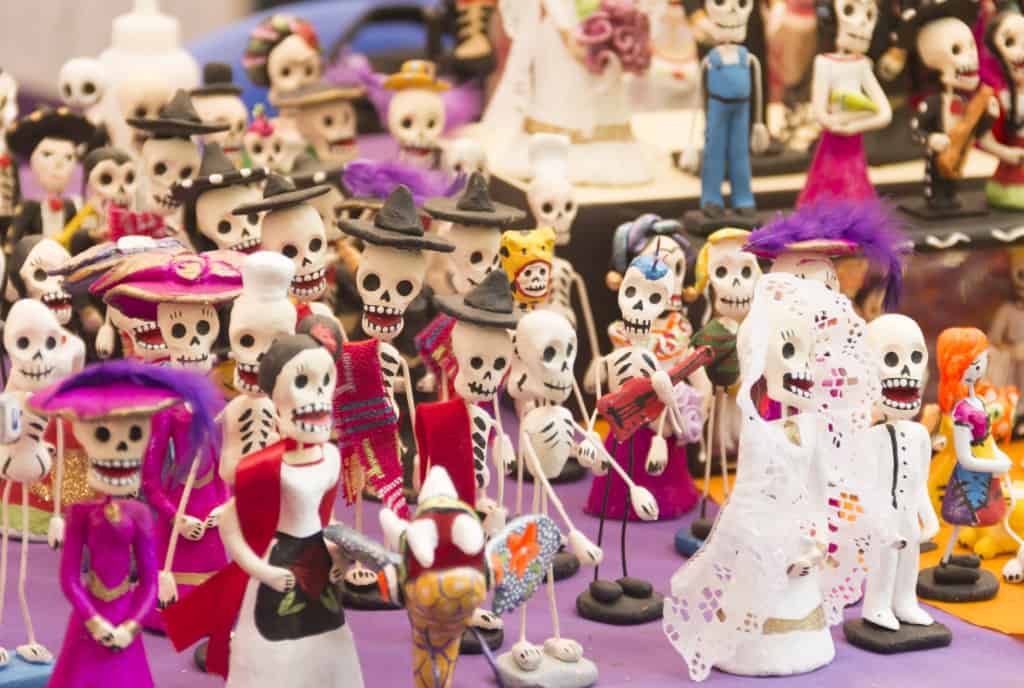
One of my favorite symbols of Day of the Dead is a calaca, a whimsical skeleton figurine usually made of clay, paper mache or wood that is generally depicted as joyous and celebratory rather than mournful and scary.
They make me smile. They lighten the sometimes dark mood that can accompany Day of the Dead, which can be very settling for children just learning about this symbolic Mexican holiday to honor the dead.
I believe they have a personality of their own. I imagine them sneaky, but with intentions that are truly good.
They’re out there to remind us of those who have passed, but instead of making us sad, lighten us up and draw us in to their whimsical portrayals of festive fun and a celebration for life.
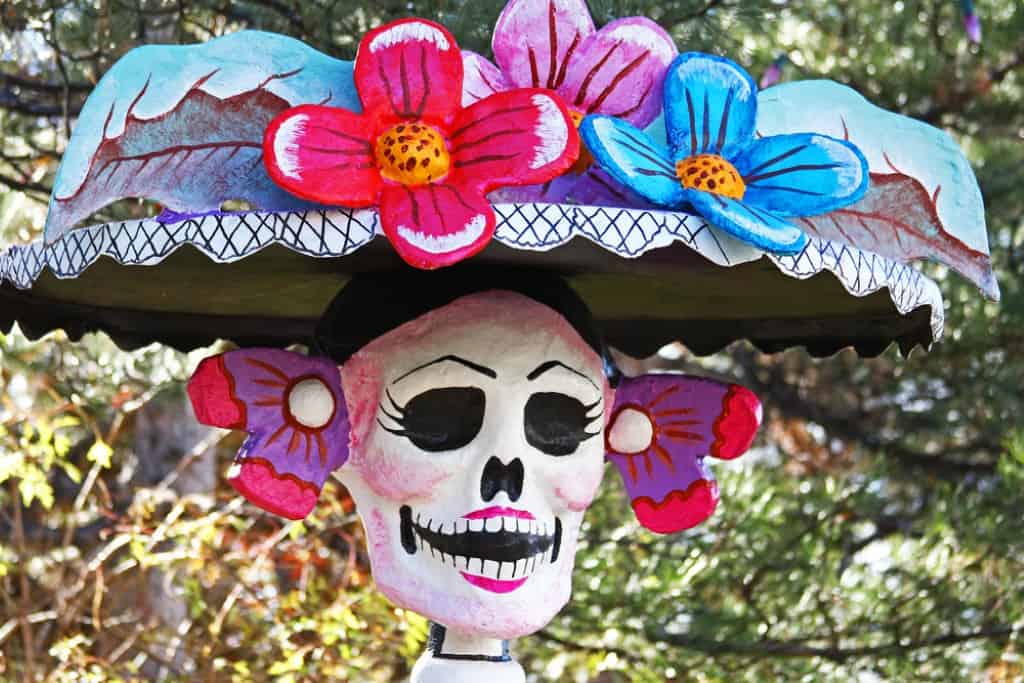
To have a calaca in your home – whether during Day of the Dead or any other time during the year – is like having a magical little friend to look after you and remind you to smile because as some calacas certainly know, life can be short!
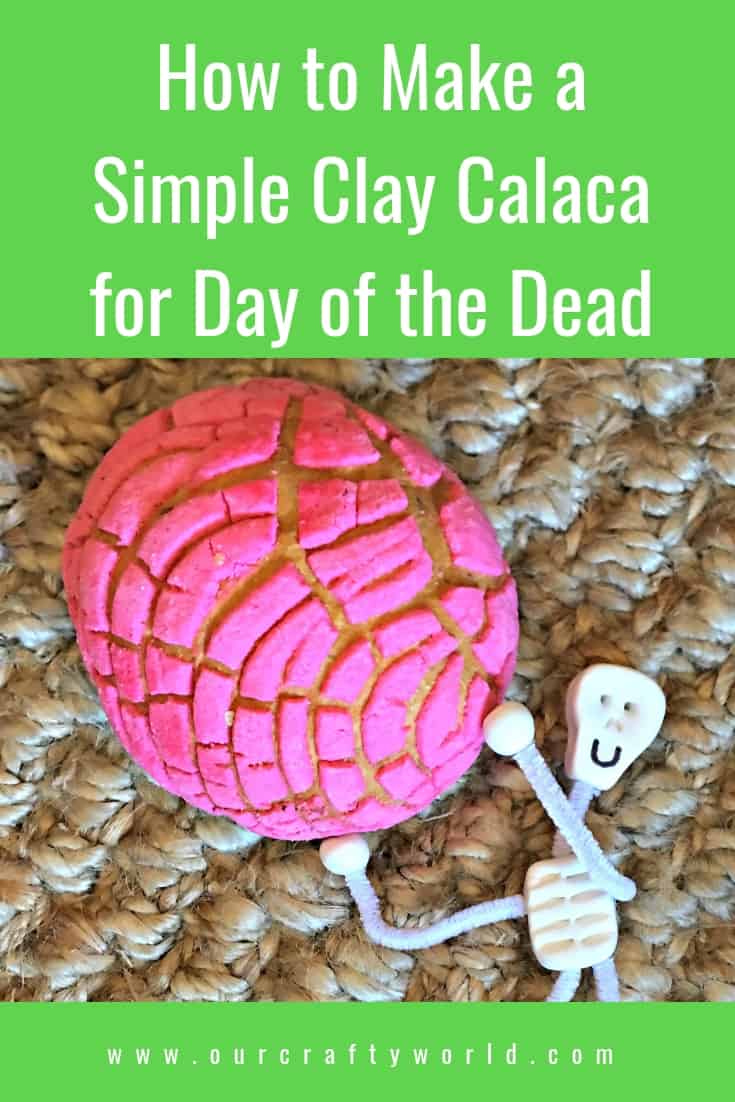
HOW TO MAKE A SIMPLE CLAY CALACA FOR DAY OF THE DEAD
This Day of the Dead season we’re encouraging you to make a calaca or two using our simple guide below.
If you would rather download a guide you can print, click here: How to Make a Simple Clay Calaca for Day of the Dead.
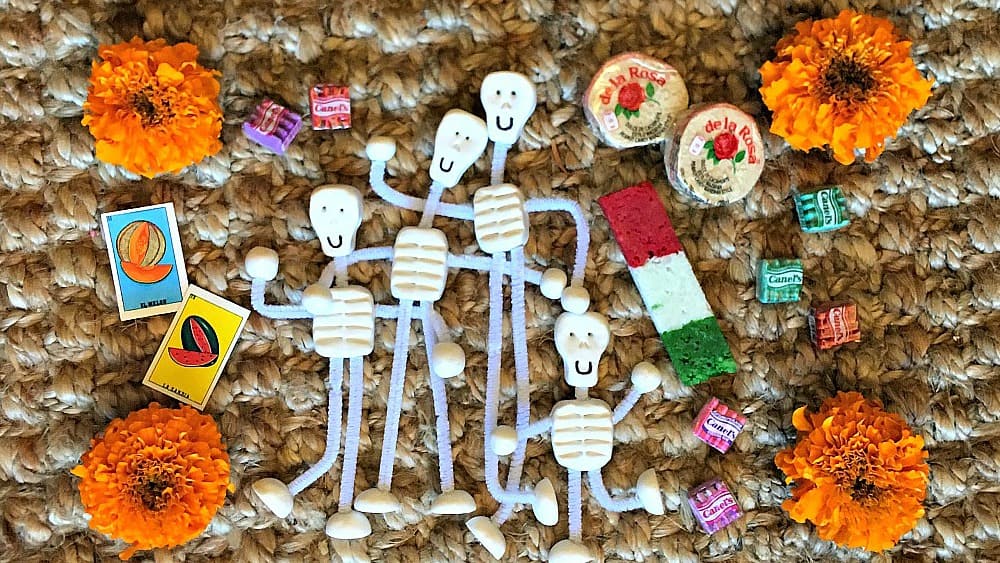
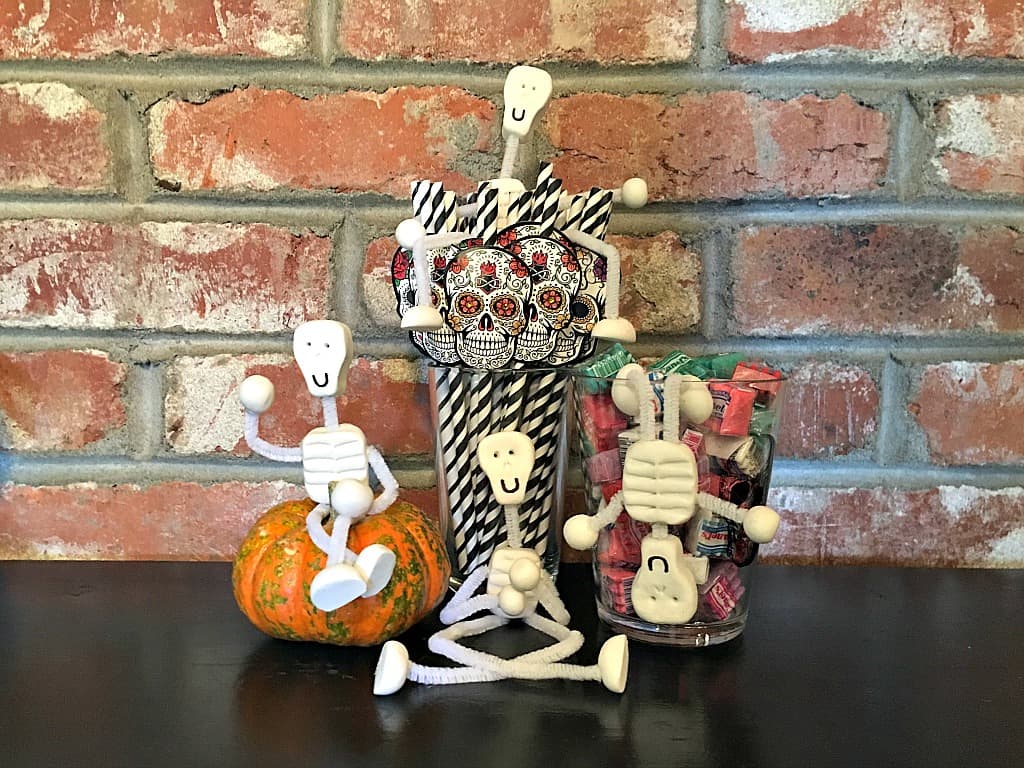
Heck, make a troupe of calacas to place throughout your home. Change up their locations every once in a while and have your kids go on a hunt to find these boney friends when they wake up in the morning. They really do provide endless fun.
Let calaca fun last longer than one day of the year in your home! Let them become a part of your family. Dress them. Name them. Talk to them. Take care of them. Love them!
They’ll certainly unconditionally love you back.
Let’s get started!
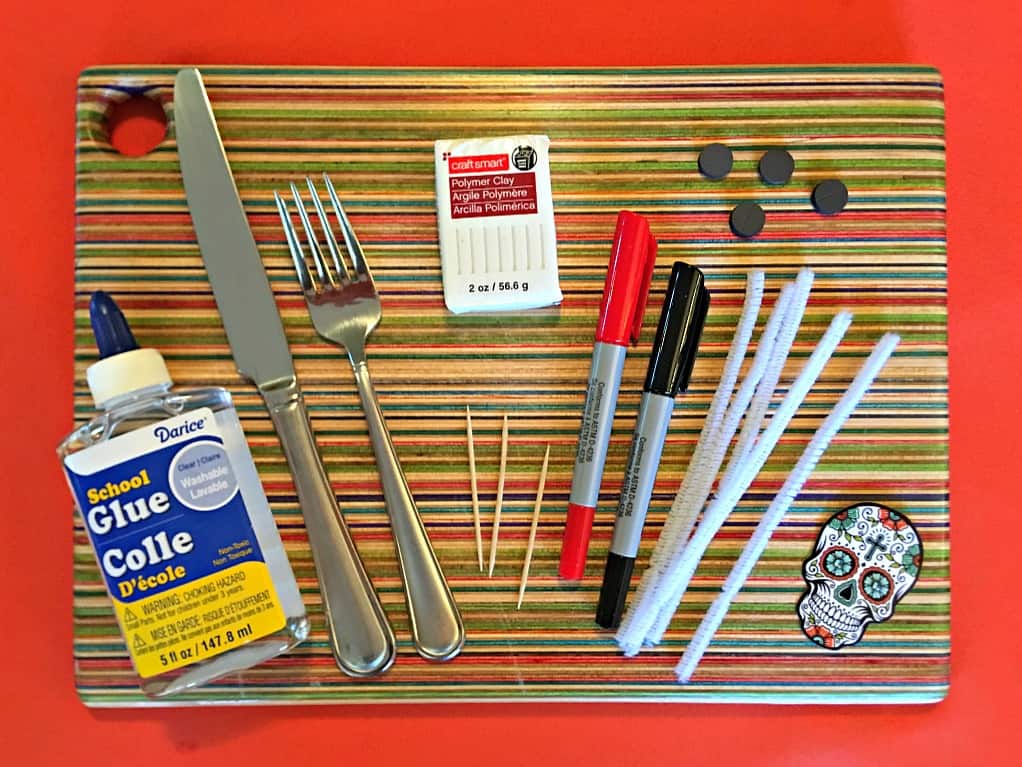
SUPPLIES
– Print our free download of the instructions below (if you prefer)
– White Polymer Clay, 2 oz. size (one packet of clay makes one calaca)
– white pipe cleaners
– kitchen knife and fork
– toothpicks
– glue or glue gun
– small magnets (optional)
– permanent fine-point marker such as a Sharpie
– baking sheet
– cutting board or other protective surface for cutting the clay
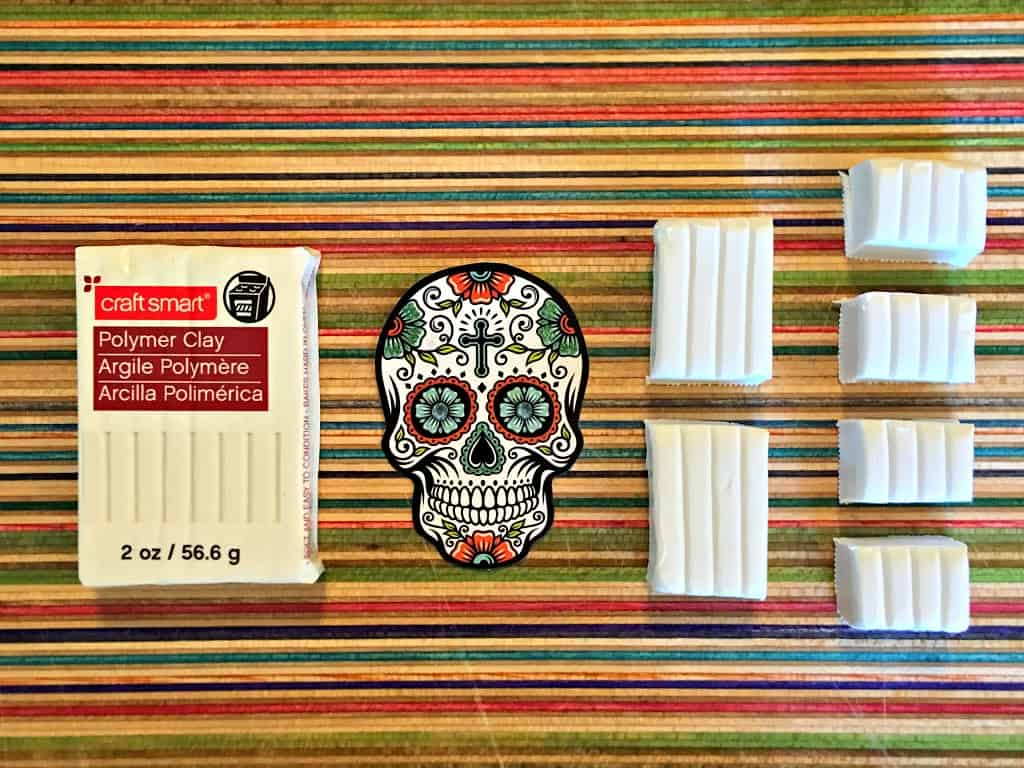
STEP 1:
Preheat oven to 275 degrees. You will need to bake your clay pieces once you have finished shaping them.
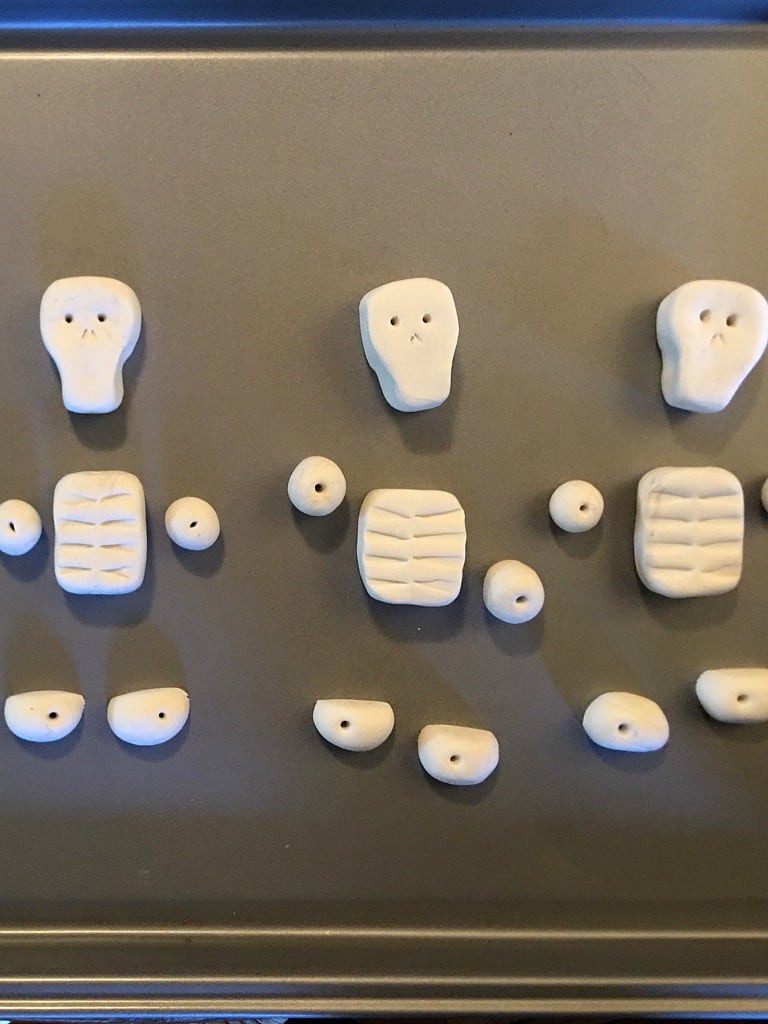
Using the kitchen knife, cut the clay as seen in the photo here. Start by cutting the block in half vertically. Cut one of the vertical halves in half. Cut the other vertical half into fourths.
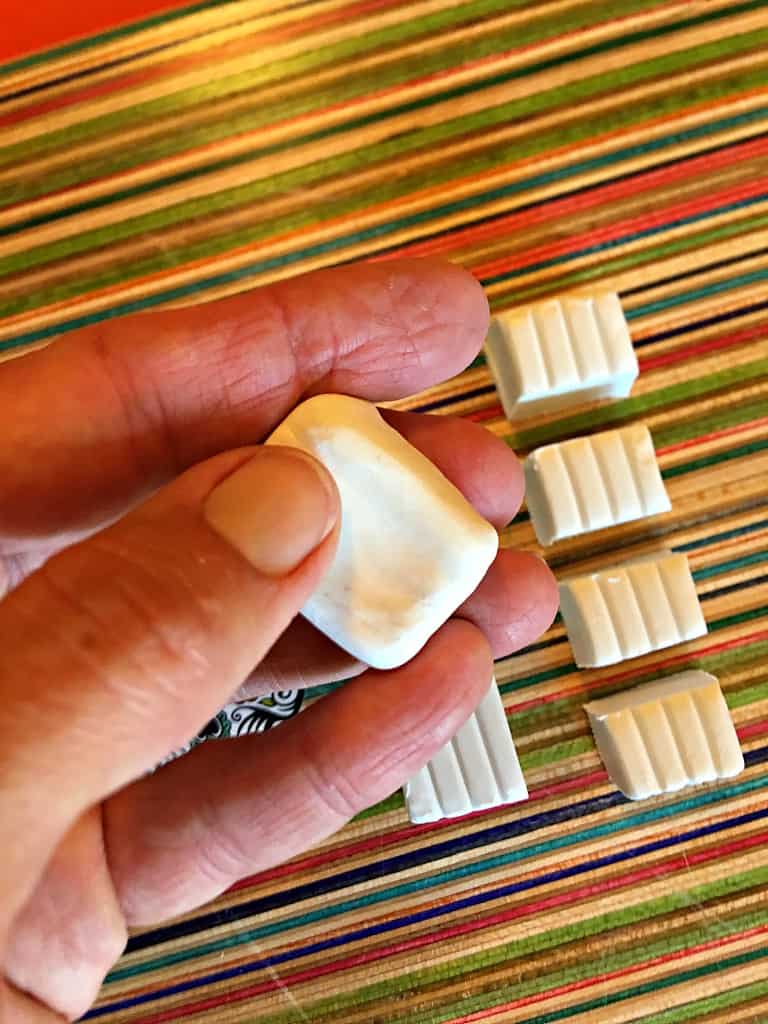
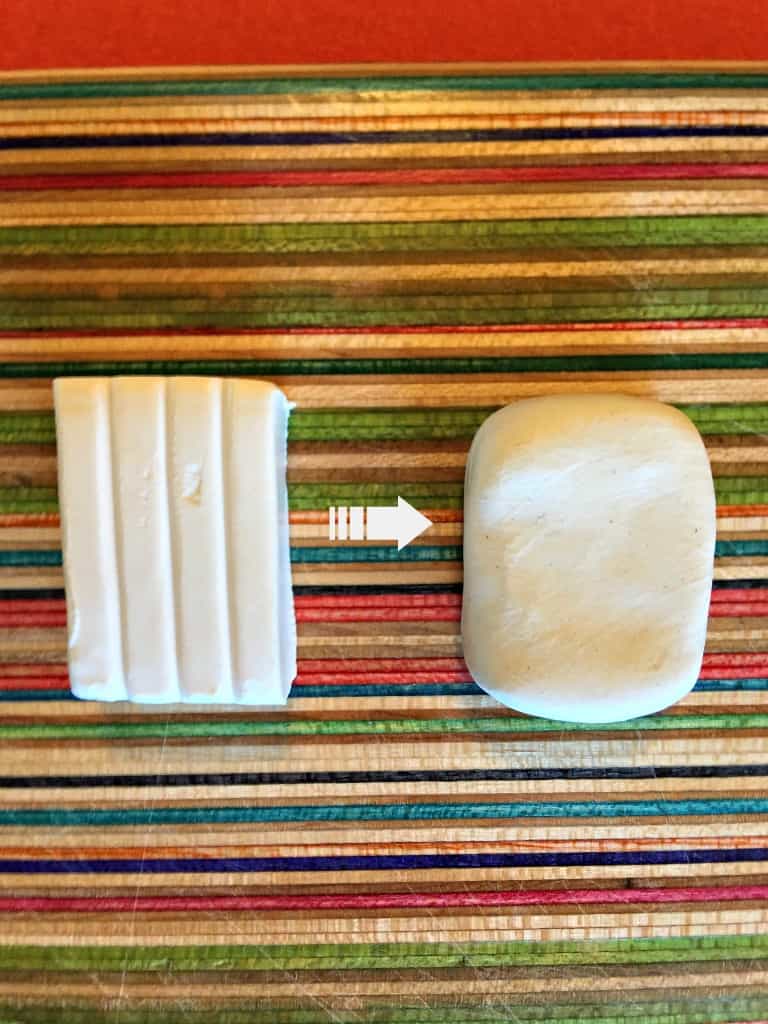
STEP 2:
Using your thumb, smooth out the front and back surfaces of the two larger clay squares. Then round the corners as seen here.
These will be the torso and skull of your calaca.
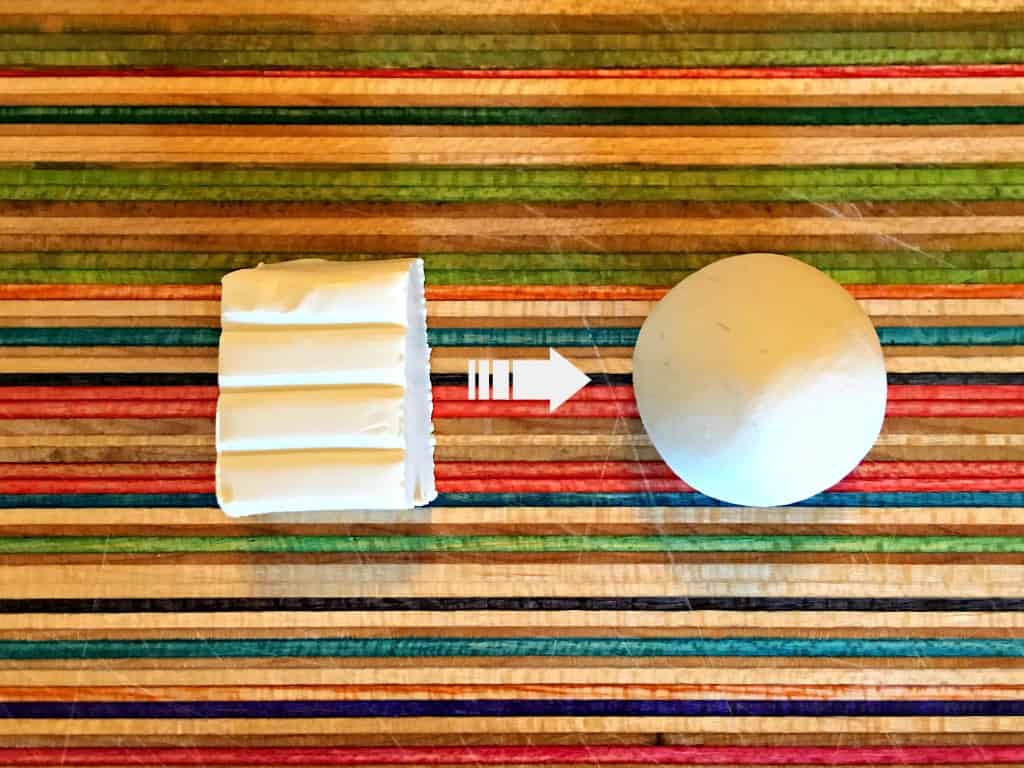
STEP 3:
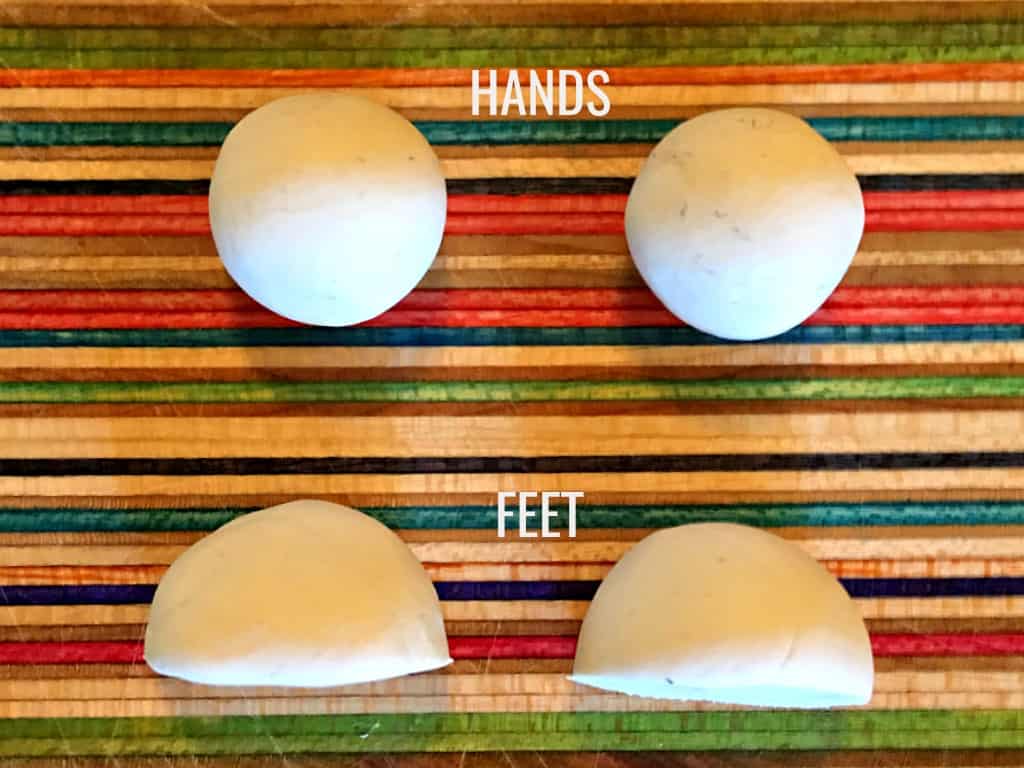
Using the palm of your hand, shape each of the four smaller squares into smooth balls.
These will be the hands and feet of your calaca.
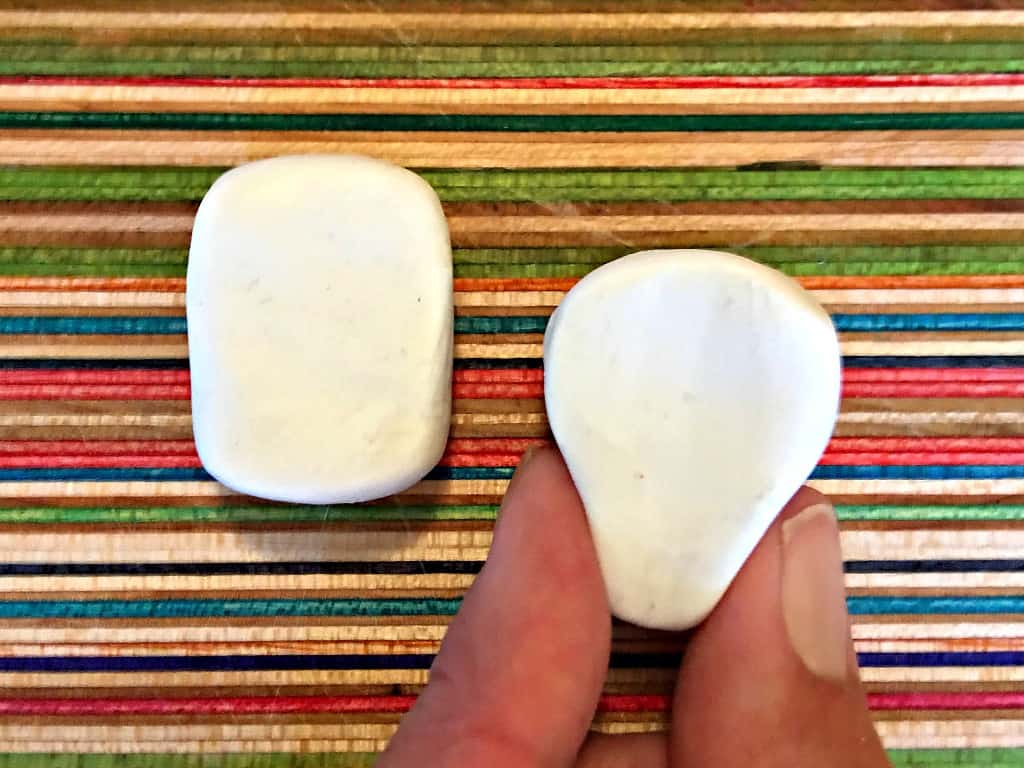
STEP 4:
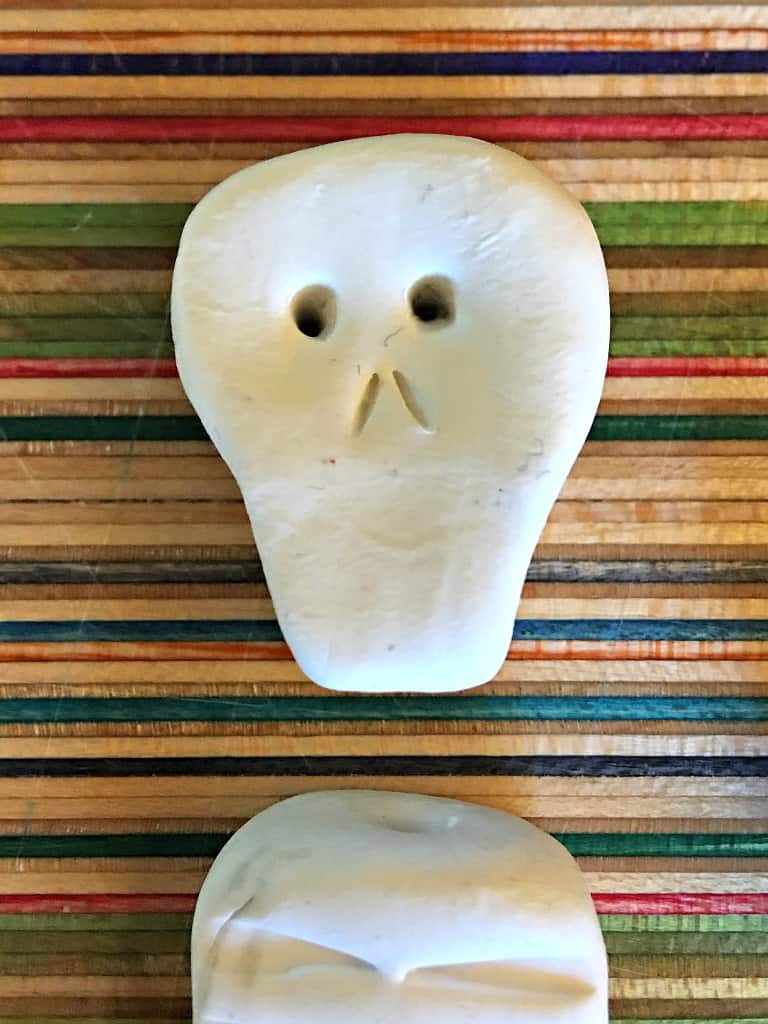
To shape the skull, gently pinch the lower half of the rounded clay square and finish by molding to your liking.
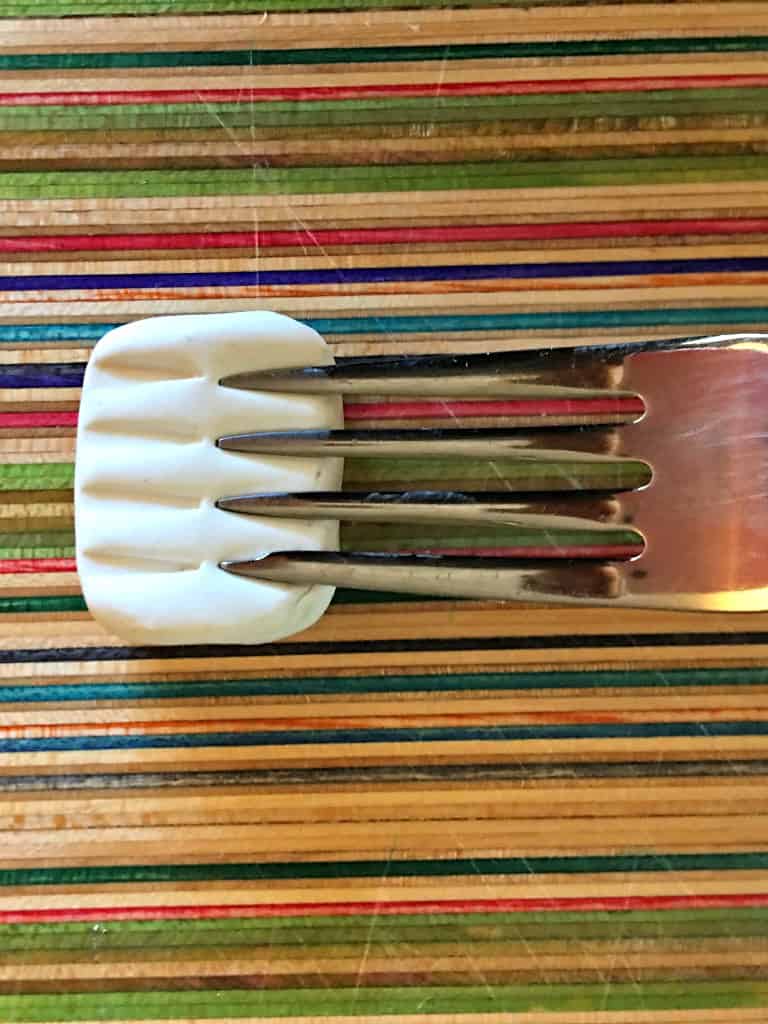
STEP 5:
To make the ribs – Use the fork to make impressions in the torso as shown.
To make the eyes and nose – Use a toothpick to make the eyes and nose as shown.
STEP 6:
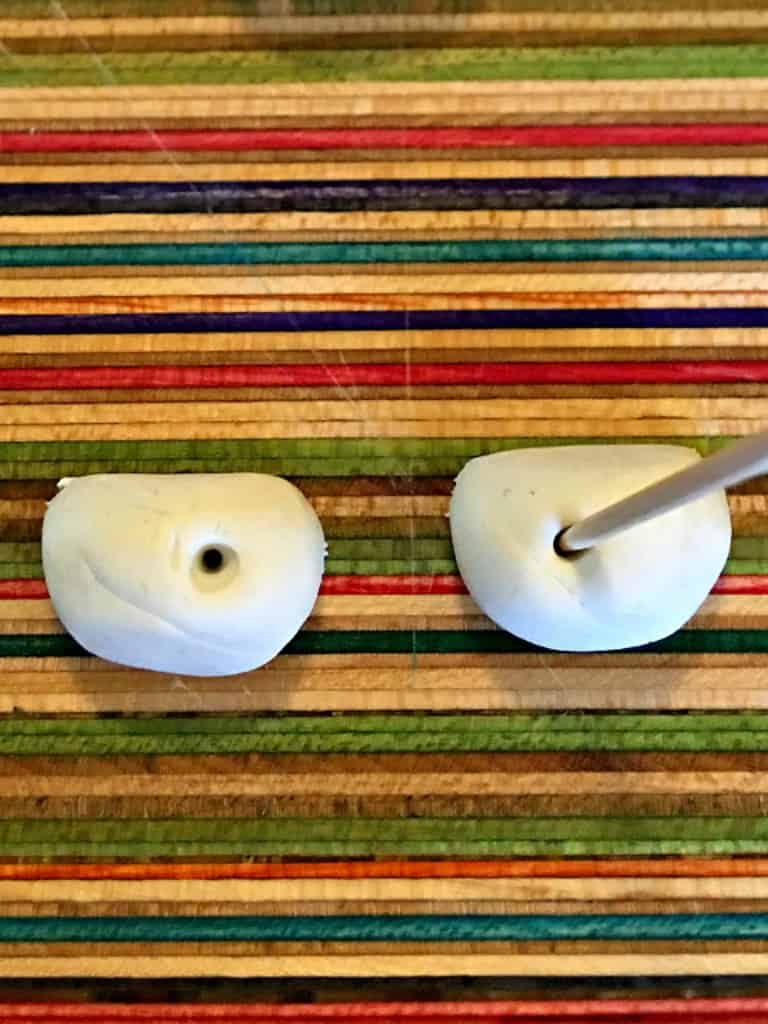
To make the feet, cut one of the clay balls in half as shown.
Disregard one of the clay balls and use the remaining two balls for the hands. I found the hands were a bit too big so I reduced the size a bit. Up to you!
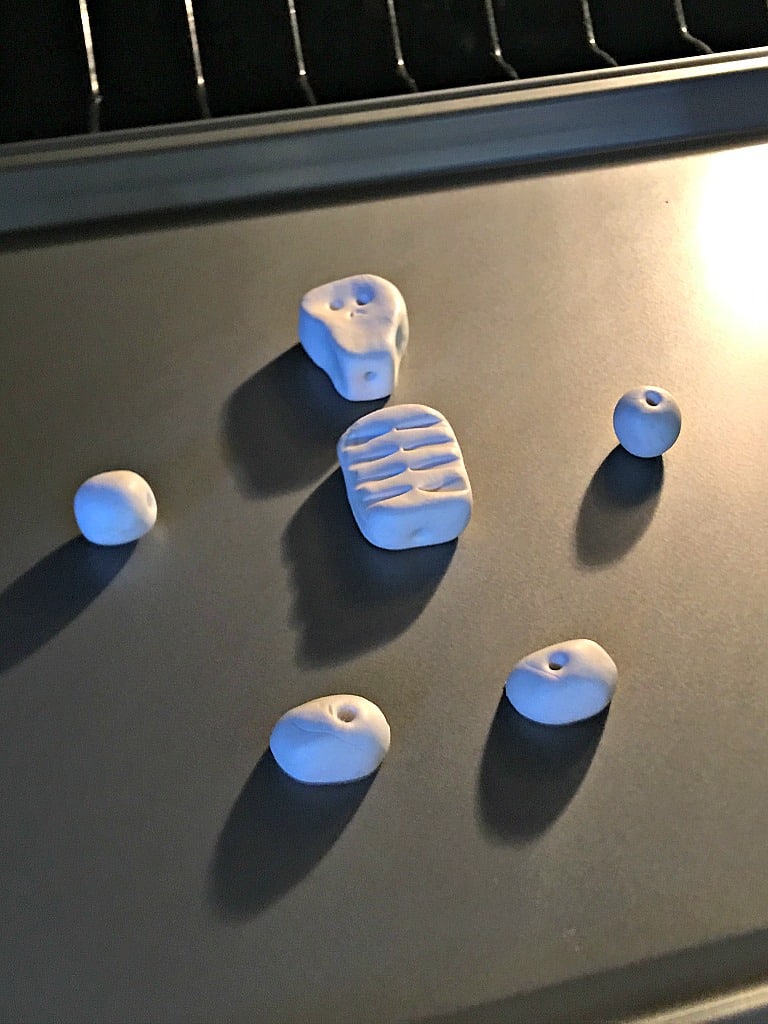
STEP 7:
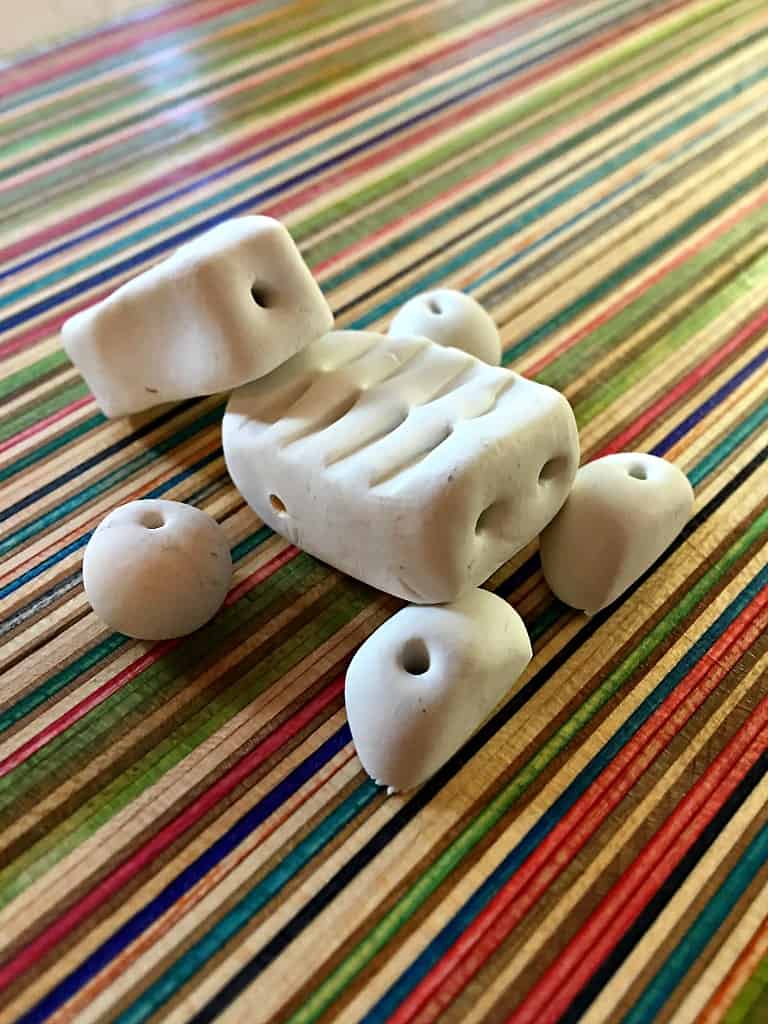
Now that all body parts have been shaped, it’s time to put holes into each part so that when the calaca is done baking, you can insert and glue in the pipe cleaners.
How to make proper holes: You want to make sure your holes are big enough, but not too big. To do this, insert the toothpick to a depth that makes common sense (if your hole is not deep enough, your pipe cleaner may not stay put inside over time), and then widen the hole slightly by making a circular motion with the toothpick when inserted. For the torso, you will need two holes at the bottom for the legs, one hole on top for the neck, and one hole on each side for the arms.
STEP 8:
Now your calaca is ready for baking! Place on a baking sheet and bake at 275 degrees for 20 minutes.
Let cool.
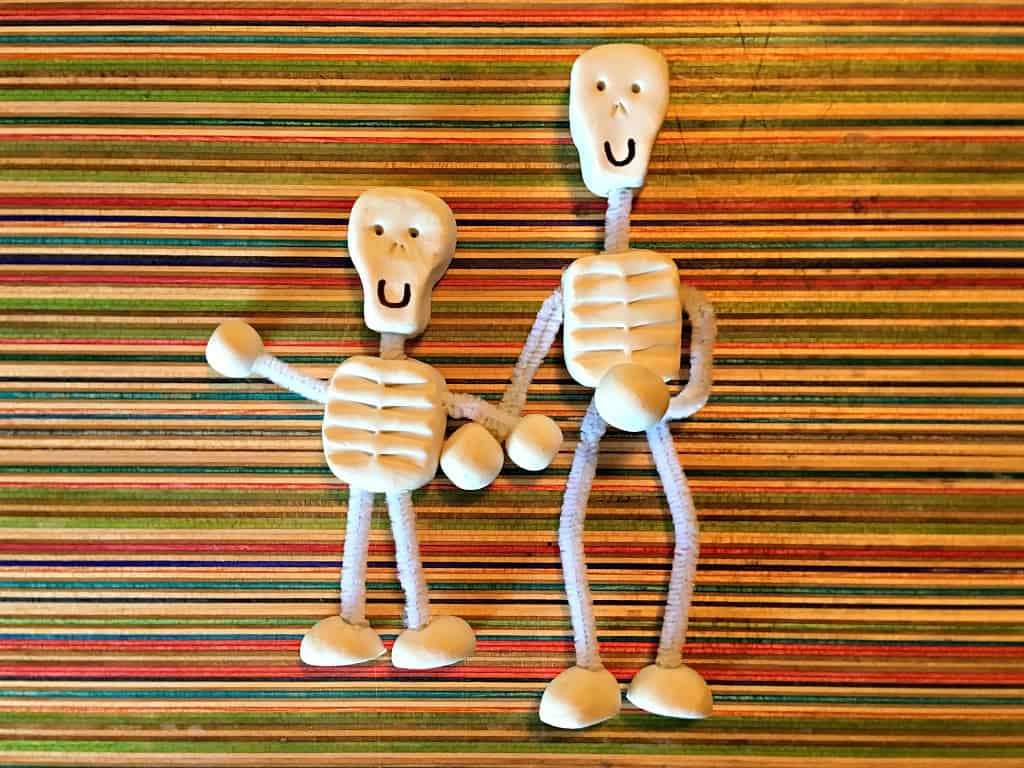
STEP 9:
To finish off your calaca, draw on a simple smile using a permanent market and attach the pipe cleaners into the holes using glue. I would highly recommend using a glue gun for future durability, but school glue will do too – just make sure you give it plenty of time to dry!
Have fun with your calacas and enjoy celebrating Day of the Day!
HAVE YOU EVER MADE A CALACA? WHAT WAS YOUR TECHNIQUE? LEAVE A COMMENT BELOW!